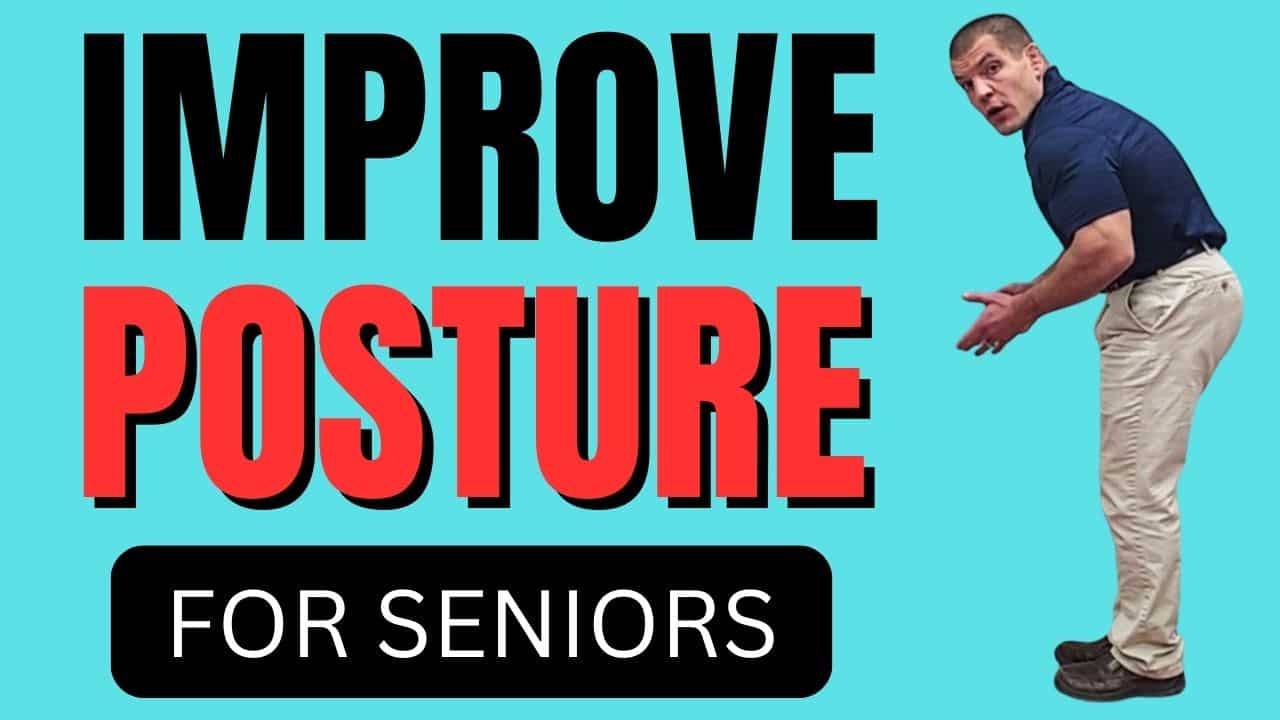
If you've noticed that your posture has gotten a little more hunched over as you age and you'd like to learn how to correct it, watch the video below to learn 3 of the best posture correction exercises for seniors
Table of Contents
- Common Posture Correction Exercise Mistakes Among Seniors
- Posture Correction Exercise 1: Hip Flexor Stretch
- Posture Correction Exercise 2: Diaphragmatic Breathing
- Posture Correction Exercise 3: Back To Wall Chest Stretch
- Are Chin Tucks A Good Posture Exercise For Seniors?
- Conclusion
- Need Help To Correct Your Posture?
Common Posture Correction Exercise Mistakes Among Seniors
When many people try to correct their posture, they think about standing up tall, pulling their shoulders back, and pulling their head back.
Often though, this doesn't fix the problem. Furthermore, it can cause secondary problems such as back pain - particularly in seniors
Think about your spinal posture like a tower of blocks.
If you were going to build a skyscraper, you wouldn't start at the top story, right?
No, you'd start down at the foundation.
And the foundation of your spine is your pelvis.
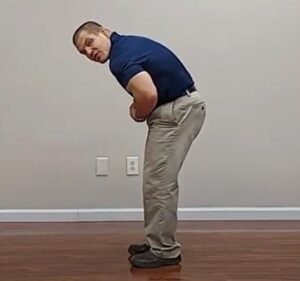
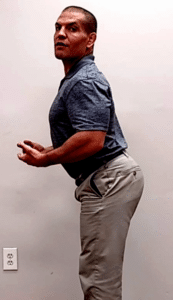
Anterior Pelvic Tilt Posture
If your pelvis is tilted too far forwards, then your tower is going to lean forwards.
Or, if you try to stand up tall, you'll cause excessive arch in your lower back, which can create lower back pain.
So you first need to start in a posture where your pelvis is in a neutral position.
Therefore, one of the absolute best posture correction exercises for seniors is just standing with your pelvis rolled underneath of you.
However, if you have tight hip flexor muscles, you may find that this is hard to do.
Therefore, the first posture correction exercise we'll cover in this post is a hip flexor stretch with a pelvic tilt.
Posture Correction Exercise 1: Hip Flexor Stretch
To do that, you're going to stagger one leg forwards and one leg backwards. The leg in back is going to be the one that you're stretching.
Now do a slight pelvic tilt, rolling your pelvis underneath of you and tightening your abdominal muscles.
The squeeze your glutes and push your pelvis forward.
You should feel a stretch in the front of your hip and/or thigh.
Hold this position for about a minute. Then switch legs and stretch the other leg for a minute.
Posture Correction Exercise 2: Diaphragmatic Breathing
The second posture correction exercise is for your thoracic spine and rib cage.
If your ribs are depressed and your thoracic spine is rounded, you'll have difficulty straightening up through your middle back.
As a result, that may cause you to extend through the lower back, which again can create lower back pain.
So this second exercise is going to work on rib cage expansion, which is controlled by breathing.
The Role of the Diaphragm in Posture
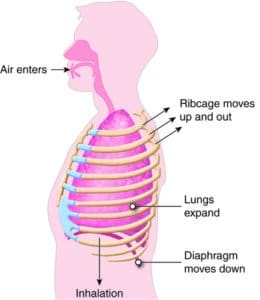
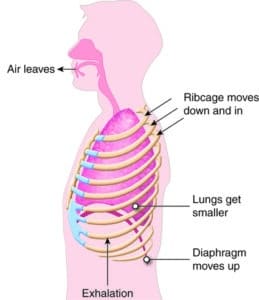
Your primary breathing muscle is your diaphragm, a dome-shaped muscle that separates your lungs from your abdominal organs.
Your diaphragm moves down as you breathe in (inhale), causing your belly to move outward.
When you breath in, your ribcage expands and you almost automatically straighten up into an more upright posture.
Then as you breath out, the dome of the diaphragm moves back up to push air back out of your lungs.
Repeat breathing in and out using your diaphragm focusing on breathing in by pushing your belly out, and then breathing out by letting your belly fall.
You can practice this as a posture correction exercise, but ideally, this is the way you should be breathing throughout the day.
Posture Correction Exercise 3: Back To Wall Chest Stretch
The final posture correction exercise is to address your chest and your upper thoracic spine.
If you spend a lot of time sitting - working at a computer, looking at a smartphone or driving - that can make your chest muscles stiff.
Stiff chest muscles in turn can cause a rounded upper back and forward shoulders.
To address that problem, we're going to do a posture exercise to stretch your chest muscles.
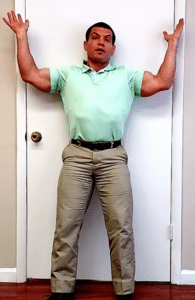
Do do this, stand with your back against wall.
Make sure that your lower back is flat up against the wall. It doesn't matter if your shoulders touch.
In fact, if you have a rounded upper back, it's likely that your shoulders probably won't touch. And that's ok.
Then take your arms and put them up like a goal post.
Your head and shoulders don't need to touch the wall.
Make sure to keep your lower back flat as you rotate your arms and hands back toward the wall
Hold this position for at least 10 seconds, working up to 30 seconds or even a minute or more.
Are Chin Tucks A Good Posture Exercise For Seniors?
People often do chin tucks as a way to correct posture, but again, that's starting at the top floor of your building.
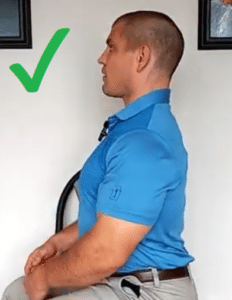
When you roll your pelvis underneath of you, take a deep breath, and then extend the thoracic spine, your head automatically comes up over your shoulders.
You may still need to do a slight head nod sot that you're not looking up at the ceiling.
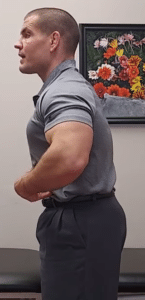
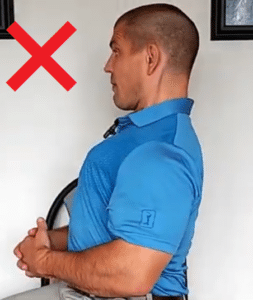
However, you don't want to do an excessive neck retraction as shown below.
This can actually cause more stress on the discs in your neck.
Conclusion
So those were 3 of the best posture correction exercises for seniors.
To review, if you're looking to correct your posture, it's a good idea to start from the pelvis and move up.
- Do a pelvic tilt
- Take a "belly breath" using your diaphragm
- Bring your arms up like a goal post to correct your upper back posture.
- Then let your arms drop and do a slight chin tuck to correct your head posture.
That will get you pretty close to a good posture.
Need Help To Correct Your Posture?
If you're a senior in the St. Louis area and need help to correct your posture and/or relieve back or neck pain, we'd be happy to help you. Just tap the button below to request an appointment with one of our specialist physical therapists.

